Introduction
Stepping into the world of beekeeping is an exciting journey, filled with the promise of golden honey, the gentle hum of a thriving colony, and a deeper connection to the natural world. But with this rewarding hobby comes a great responsibility. As a beekeeper, you are the guardian of a complex and fascinating society, and one of your most critical roles is that of the hive inspector. A hive inspection is far more than a casual glance inside the box; it is a comprehensive health assessment, a census, a pantry check, and a structural survey all rolled into one. It is through regular, methodical inspections that you will truly begin to understand the language of your bees, learning to read the intricate patterns of the comb and the subtle behaviors of the colony. This practice is the very foundation of proactive and successful beekeeping, elevating you from someone who simply owns bees to a true apiarist who is deeply engaged with their well-being and productivity. This guide will serve as your trusted companion on this journey, providing you with the knowledge and confidence to perform thorough and effective hive inspections.
The prospect of opening a hive, a bustling metropolis of tens of thousands of bees, can certainly be intimidating for the novice beekeeper. The thought of all those stingers is enough to make anyone's heart beat a little faster. However, with the right preparation, the proper equipment, and a calm, deliberate approach, you will quickly discover that hive inspections are not something to be feared, but rather a fascinating and deeply rewarding experience. This comprehensive guide is designed to be your mentor, taking you by the hand and walking you through every aspect of the inspection process. We will cover everything from the essential equipment and the best time to inspect, to a detailed, step-by-step process for opening the hive and examining the frames. Our goal is to demystify the complex world inside the hive, empowering you to interpret the signs and signals your bees are constantly providing. By the time you finish this article, you will be equipped with the skills and the confidence to approach your hive inspections with the calm assurance of a seasoned beekeeper.
Think of yourself as a detective, a physician, and a property manager all in one. With each inspection, you are gathering clues about the health and happiness of your queen, assessing the growth and vitality of the colony, and searching for any signs of trouble, from dwindling food stores to the unwelcome presence of pests and diseases. This checklist is designed to be your investigative framework, a systematic guide to ensure that no stone is left unturned. So, take a deep, calming breath, don your protective gear, and prepare to embark on an incredible journey into the heart of the hive. For a broader understanding of the beekeeping craft, we highly recommend reading our cornerstone article, The Complete Beginner's Guide to Beekeeping [blocked], which provides a comprehensive overview for aspiring beekeepers.

Before You Open the Hive: Preparation Checklist
A successful and stress-free hive inspection begins long before you crack open the hive. Proper preparation is key to ensuring both your safety and the well-being of your bees. Rushing into an inspection without the right gear or at the wrong time can lead to a frustrating experience for everyone involved. By following this pre-inspection checklist, you'll set yourself up for a calm, efficient, and productive time with your bees.
Equipment Checklist
A smooth inspection is a well-equipped inspection. There is nothing more disruptive to you and your bees than having to stop midway through to fetch a forgotten tool. It breaks your concentration and can cause unnecessary stress to the colony. To avoid this, assemble your complete toolkit before you even approach the hive. Think of it as a surgeon preparing their instruments; every item has a purpose and should be clean and ready for action. We recommend keeping all your essential gear in a dedicated toolbox or a 5-gallon bucket for easy transport and organization.
| Equipment | Purpose |
|---|---|
| Full Bee Suit or Jacket & Veil | Your primary line of defense against stings. Ensure it's fully zipped and there are no gaps. |
| Beekeeping Gloves | Protect your hands from stings while allowing for dexterity. Leather or goat skin are popular choices. |
| Smoker | The most important tool for calming your bees. The smoke masks the alarm pheromone, making the colony less defensive. |
| Hive Tool | A beekeeper's best friend. Used for prying open hive bodies, lifting frames, and scraping away excess propolis and wax. |
| Bee Brush | A soft-bristled brush for gently moving bees off frames without harming them. |
| Frame Grip | A helpful tool for lifting frames out of the hive, especially when they are heavy with honey or covered in bees. |
| Notebook and Pen/Pencil | For taking detailed notes during your inspection. You can also use a smartphone app for this. |
| Entrance Reducer | To adjust the size of the hive entrance, which can be important for managing temperature and protecting against robbers. |
| Magnifying Glass | Optional, but very helpful for spotting tiny eggs and small pests like varroa mites. |
Weather and Timing
Honey bees are incredibly sensitive to meteorological conditions. Their collective mood, and thus their receptiveness to an inspection, is heavily influenced by the weather. Attempting to inspect a hive on a cold, windy, or rainy day is a recipe for a defensive colony and a stressful experience for the beekeeper. The bees will be clustered together for warmth, and the intrusion will be met with significant resistance. Furthermore, opening the hive in such conditions can chill the delicate brood, putting the next generation of bees at risk. Therefore, a successful beekeeper is also a patient weather watcher, waiting for the ideal window to conduct their inspections.
- Ideal Conditions: A warm, sunny, and calm day is the perfect time for a hive inspection. Aim for a temperature of at least 60°F (15°C). On a warm day, a large portion of the forager bees will be out of the hive, which means fewer bees for you to manage inside.
- Avoid: Cold, windy, or rainy days. Inspecting in poor weather will chill the brood and make the bees more defensive. Also, avoid inspecting too early in the morning or too late in the evening when most of the bees are at home.
- Time of Day: The best time for an inspection is typically between late morning and early afternoon, from about 10:00 AM to 2:00 PM. This is when the sun is at its warmest and the foragers are at their busiest.
By taking the time to prepare properly, you're not just making the inspection easier for yourself; you're also showing respect for your bees. A calm and organized beekeeper leads to a calm and manageable hive. Now that you're all geared up and have chosen the perfect day, it's time to move on to the main event: opening the hive.
Step-by-Step Inspection Process
With your tools at the ready and a calm mind, it is time to approach the hive. Remember to approach from the side or the rear, out of the bees' direct flight path. This is a simple but important sign of respect for their space. Your movements should be slow, deliberate, and confident. Any sudden, jerky motions can be interpreted as a threat. This section will walk you through the precise mechanics of opening the hive, from the initial puff of smoke to the final placement of the outer cover.
Lighting the Smoker
The smoker is arguably the most iconic and essential tool in beekeeping. Its purpose is not to harm the bees, but to calm them. The smoke masks the alarm pheromone that guard bees release when they perceive a threat, preventing a colony-wide defensive response. It also encourages the bees to gorge on honey, which has a further calming effect. A properly managed smoker, producing cool, white smoke, is the key to a peaceful and productive hive inspection.
- Fuel: Use natural materials like pine needles, untreated burlap, or cotton. You can also purchase commercial smoker fuel.
- Light it: Light the fuel from the bottom and gently puff the bellows to get it going. Once it's smoldering and producing thick, white smoke, add more fuel on top to keep it going throughout the inspection.
- Cool Smoke: The smoke should be cool. If it's hot, you risk harming the bees. Test it on the back of your hand before using it on the hive.
Opening the Hive
- Smoke the Entrance: Approach the hive from the side or the rear, not from the front (the bees' flight path). Puff a few gentle clouds of smoke into the entrance. This masks the alarm pheromone and encourages the bees to gorge on honey, which makes them more docile.
- Wait: Wait for 30-60 seconds to allow the smoke to take effect.
- Pry the Outer Cover: Use your hive tool to gently pry open the outer cover. There will likely be some propolis sealing it shut.
- Smoke the Inner Cover: Place the outer cover on the ground next to the hive. You'll now see the inner cover. Puff a little smoke through the hole in the inner cover.
- Remove the Inner Cover: Gently pry off the inner cover and lean it against the hive entrance. This will have some bees on it, and they will be able to find their way back into the hive.
Working Through the Frames
- Start at the Edge: Always start your inspection with a frame from the edge of the hive. These frames are less likely to have the queen on them and are usually filled with honey or are empty.
- Loosen the Frame: Use your hive tool to gently pry the frames apart. They will be stuck together with propolis and wax.
- Lift the Frame: Lift the first frame straight up, being careful not to roll or crush any bees. A frame grip can be very helpful here.
- Inspect the Frame: Hold the frame over the hive to catch any falling bees or drips of honey. Look for the things we'll discuss in the 7-point checklist below. To inspect the other side, pivot the frame vertically, then turn it like a page in a book.
- Set the Frame Aside: Once you've inspected the first frame, you can set it aside by leaning it against the outside of the hive. This will give you more room to work with the other frames.
- Continue the Inspection: Work your way through the remaining frames one by one. After inspecting each frame, place it back in the hive in the same order and orientation you found it.
- Closing the Hive: Once you've finished your inspection, carefully replace all the frames in their original order. Replace the inner cover and then the outer cover. Reduce the entrance if necessary. Your inspection is now complete!
The 7-Point Inspection Checklist
Now for the heart of the inspection: knowing what to look for. This 7-point checklist covers the most critical aspects of colony health and productivity. By systematically going through this list on every inspection, you'll develop a deep understanding of your bees and be able to spot issues early.
1. Queen Status: Is the Queen Present and Laying?
The queen is the single most important bee in the entire colony. As the sole egg-layer, she is the mother of all the bees in the hive, and her health, fertility, and genetics dictate the overall character and success of the colony. Therefore, assessing her status is the number one priority of every hive inspection. While it is a great feeling to physically lay eyes on her majesty, it is not a necessity. The presence of her work is the most reliable indicator of a healthy, queenright colony.
- Look for Eggs: Freshly laid eggs are the best indicator of a healthy, laying queen. They look like tiny grains of rice standing up in the bottom of a cell. If you see eggs, you know the queen was there in the last 3 days.
- Spot the Queen (Bonus): If you do spot her, she will be larger than the other bees, with a long, elegant abdomen. Seeing her is reassuring, but not essential if you see eggs.
- No Queen? If you don't see eggs or a queen, you may have a queenless hive, which is a serious problem that needs to be addressed immediately.
2. Brood Pattern: A Picture of Colony Health
The brood pattern is a visual masterpiece that tells a rich story of the colony's health and the queen's performance. It is the nursery of the hive, and its condition is a direct reflection of the queen's laying prowess and the overall well-being of the colony.
- What to Look For: A solid, compact pattern of capped brood with very few empty cells. The brood should be in a semi-circle or oval shape on the frame. You should see all stages of brood present: eggs, young larvae (c-shaped and glistening), and older larvae.
- Signs of a Problem: A spotty or "shotgun" brood pattern with many empty cells can indicate an aging or failing queen, or a disease problem. We'll cover this in more detail later.
3. Food Stores: Honey and Pollen
A beehive is a bustling city that requires a constant and substantial supply of food to function. Honey is the colony's carbohydrate source, providing the energy for all their activities. Pollen, often called 'bee bread,' is their protein source, essential for raising healthy young bees.
- Honey: Look for frames of capped honey (sealed with white wax). This is the colony's long-term food reserve.
- Pollen: This is the bees' protein source, essential for feeding the young. You will see cells packed with pollen of various colors (bee bread) near the brood nest.
- Is it Enough? A strong colony can have 2-3 frames of honey and 1-2 frames of pollen at the height of the season. Always err on the side of leaving too much honey for the bees.
4. Population: Is the Colony Growing?
The size and density of the bee population is a direct measure of the colony's strength and vitality. A large, booming population is a sign of a healthy queen and a productive workforce.
- What to Look For: A good population of bees covering the frames. In the spring and summer, you want to see the colony expanding. The bees should be calm and busy, not agitated or lethargic.
- Signs of a Problem: A dwindling population is a major red flag. It could be due to a failing queen, disease, or pesticide exposure.
5. Pests and Diseases: An Ounce of Prevention
A beehive is a rich and attractive environment for a variety of pests and diseases. Regular hive inspections are your first and best line of defense against these invaders.
- Varroa Mites: These are the number one enemy of honey bees. Look for them on the bees themselves (they look like tiny, reddish-brown dots) and on the bottom board. A mite count is a more accurate way to assess the level of infestation.
- Other Pests: Look for signs of wax moths, small hive beetles, and mice.
- Diseases: Look for signs of brood diseases like American Foulbrood (AFB) and European Foulbrood (EFB), and adult bee diseases like Nosema.
6. Space Needs: Room to Grow
A growing colony is a happy colony, but a crowded colony is a colony that is preparing to swarm. Managing space within the hive is a critical beekeeping skill.
- When to Add Space: If the bees are occupying 7-8 frames in a 10-frame box, it's time to add another box (a "super").
- Signs of a Crowded Hive: Look for "bearding" on the front of the hive on warm evenings, and lots of bees packed between the frames.
7. Temperament: The Mood of the Hive
The collective mood of your hive is a surprisingly accurate barometer of its overall well-being. A sudden and dramatic shift in temperament is often a sign that something is wrong.
- Ideal Temperament: Your bees should be relatively calm and manageable during an inspection. A little defensiveness is normal, but they shouldn't be overly aggressive.
- Sudden Changes: A sudden change in temperament from calm to aggressive can be a sign of a problem, such as queenlessness or a pest infestation.
By diligently working through this 7-point checklist, you will gain a holistic view of your colony's health. Remember to take good notes so you can track the progress of your hive over time. For those who love to learn and connect with fellow beekeepers, consider joining our community at Join Modern Beekeeping on Skool.

Reading Brood Patterns: What Good and Bad Brood Looks Like
Understanding brood patterns is like learning to read the language of the hive. The queen's laying pattern is a direct reflection of her health, fertility, and the overall well-being of the colony.
Good Brood Patterns: A Sign of a Thriving Colony
A healthy, well-mated queen will lay her eggs in a methodical and efficient way. Here's what you want to see:
- Solid and Compact: The capped brood should be in a dense, solid block with very few missed cells. It often forms a beautiful, semi-circular or oval pattern on the frame.
- All Stages Present: In a healthy brood nest, you should see all stages of development in close proximity: eggs, young larvae, older larvae, and capped pupae.
- Uniformity: The capped brood should be uniform in appearance, with slightly domed, light-brown cappings.
Bad Brood Patterns: A Call for Closer Inspection
A poor brood pattern is a clear signal that something is amiss in the hive.
- Spotty or "Shotgun" Pattern: Instead of a solid block of brood, you'll see a scattered, peppered pattern with many empty cells. This can be caused by a failing queen, brood diseases, varroa mites, or an inbred queen.
- Sunken, Dark, or Perforated Cappings: This can be a sign of American Foulbrood (AFB), a highly contagious and destructive disease.
- Multiple Eggs per Cell or Eggs on the Sides of Cells: This is a classic sign of laying workers, which occurs when a hive has been queenless for a long time.
| Brood Pattern Characteristic | Good Pattern (Healthy Queen) | Bad Pattern (Potential Problem) |
|---|---|---|
| Pattern | Solid, compact, and contiguous | Spotty, scattered, "shotgun" appearance |
| Brood Stages | All stages (eggs, larvae, pupae) present | Missing stages, inconsistent development |
| Cappings | Uniform, slightly domed, light brown | Sunken, dark, greasy, perforated |
| Egg Placement | One egg per cell, centered at the bottom | Multiple eggs per cell, eggs on cell walls |

Finding the Queen: Tips and Tricks for Beginners
Spotting the queen is one of the most exciting moments for any beekeeper, especially a beginner. Here are some tips to help you in your royal quest.
- Know What You're Looking For: The queen is the largest bee in the hive. Her abdomen is noticeably longer and more pointed than a worker bee's.
- Start in the Brood Nest: The queen will almost always be found in the brood nest, on a frame with eggs and young larvae.
- Use the Sun: Hold the frame with the sun at your back. This will illuminate the cells and make it easier to spot eggs and the queen.
- Look for a Retinue: The queen is often surrounded by a circle of attendant worker bees who are feeding and grooming her.
- Scan in a Pattern: Start at one corner and scan back and forth in a systematic pattern.
- Be Patient: Finding the queen can take time. Don't get discouraged.
- Mark Your Queen: Many beekeepers choose to mark their queens with a small dot of paint on the thorax.
| Year Ending In | Color |
|---|---|
| 1 or 6 | White |
| 2 or 7 | Yellow |
| 3 or 8 | Red |
| 4 or 9 | Green |
| 5 or 0 | Blue |
Identifying Common Problems During Inspection
A beehive is a dynamic and ever-changing environment, and even with the best of care, problems can and will arise. The key to successful beekeeping is to identify and address them swiftly and effectively.
Queenlessness
A queenless hive is a colony in crisis. Without a queen to lay eggs, the population will dwindle and the hive will eventually perish.
- Signs: A complete lack of eggs and young larvae. You may also see an increase in the number of drone cells. The temperament of the hive may also become more agitated or lethargic.
- What to Do: You can introduce a new, mated queen, or you can combine the queenless colony with a queenright one.
Laying Workers
If a hive remains queenless for an extended period (usually 3-4 weeks), some of the worker bees' ovaries will develop and they will begin to lay unfertilized eggs.
- Signs: Multiple eggs laid in a single cell, and eggs laid on the sides of the cells instead of at the bottom. All eggs develop into drones, resulting in bumpy, irregular drone brood.
- What to Do: A hive with laying workers is very difficult to save. The best course of action is usually to shake out the bees and combine the remaining resources with a strong, queenright hive.
Disease Signs
Bee diseases can be devastating, so it's crucial to be able to recognize the early signs.
- American Foulbrood (AFB): Highly contagious and deadly bacterial disease. Look for sunken, dark, greasy cappings, and a foul odor. Contact your local bee inspector immediately.
- European Foulbrood (EFB): Another bacterial disease, but less severe than AFB. Look for twisted, yellowed, or melted-looking larvae.
- Chalkbrood: A fungal disease that causes the larvae to turn into hard, white or black "mummies."
- Nosema: A disease of the adult bee's digestive tract. Signs include dysentery (streaks of bee feces on the outside of the hive) and a general lack of vitality.
Pest Signs
- Varroa Mites: The number one enemy. Look for them on the bees and on the bottom board. A high mite load can cause deformed wing virus.
- Wax Moths: These pests can quickly destroy a weak hive. Look for their silky webs and tunnels in the comb.
- Small Hive Beetles: Small, black beetles that can be a major nuisance, especially in warmer climates. The larvae can create a slimy mess in the honey.
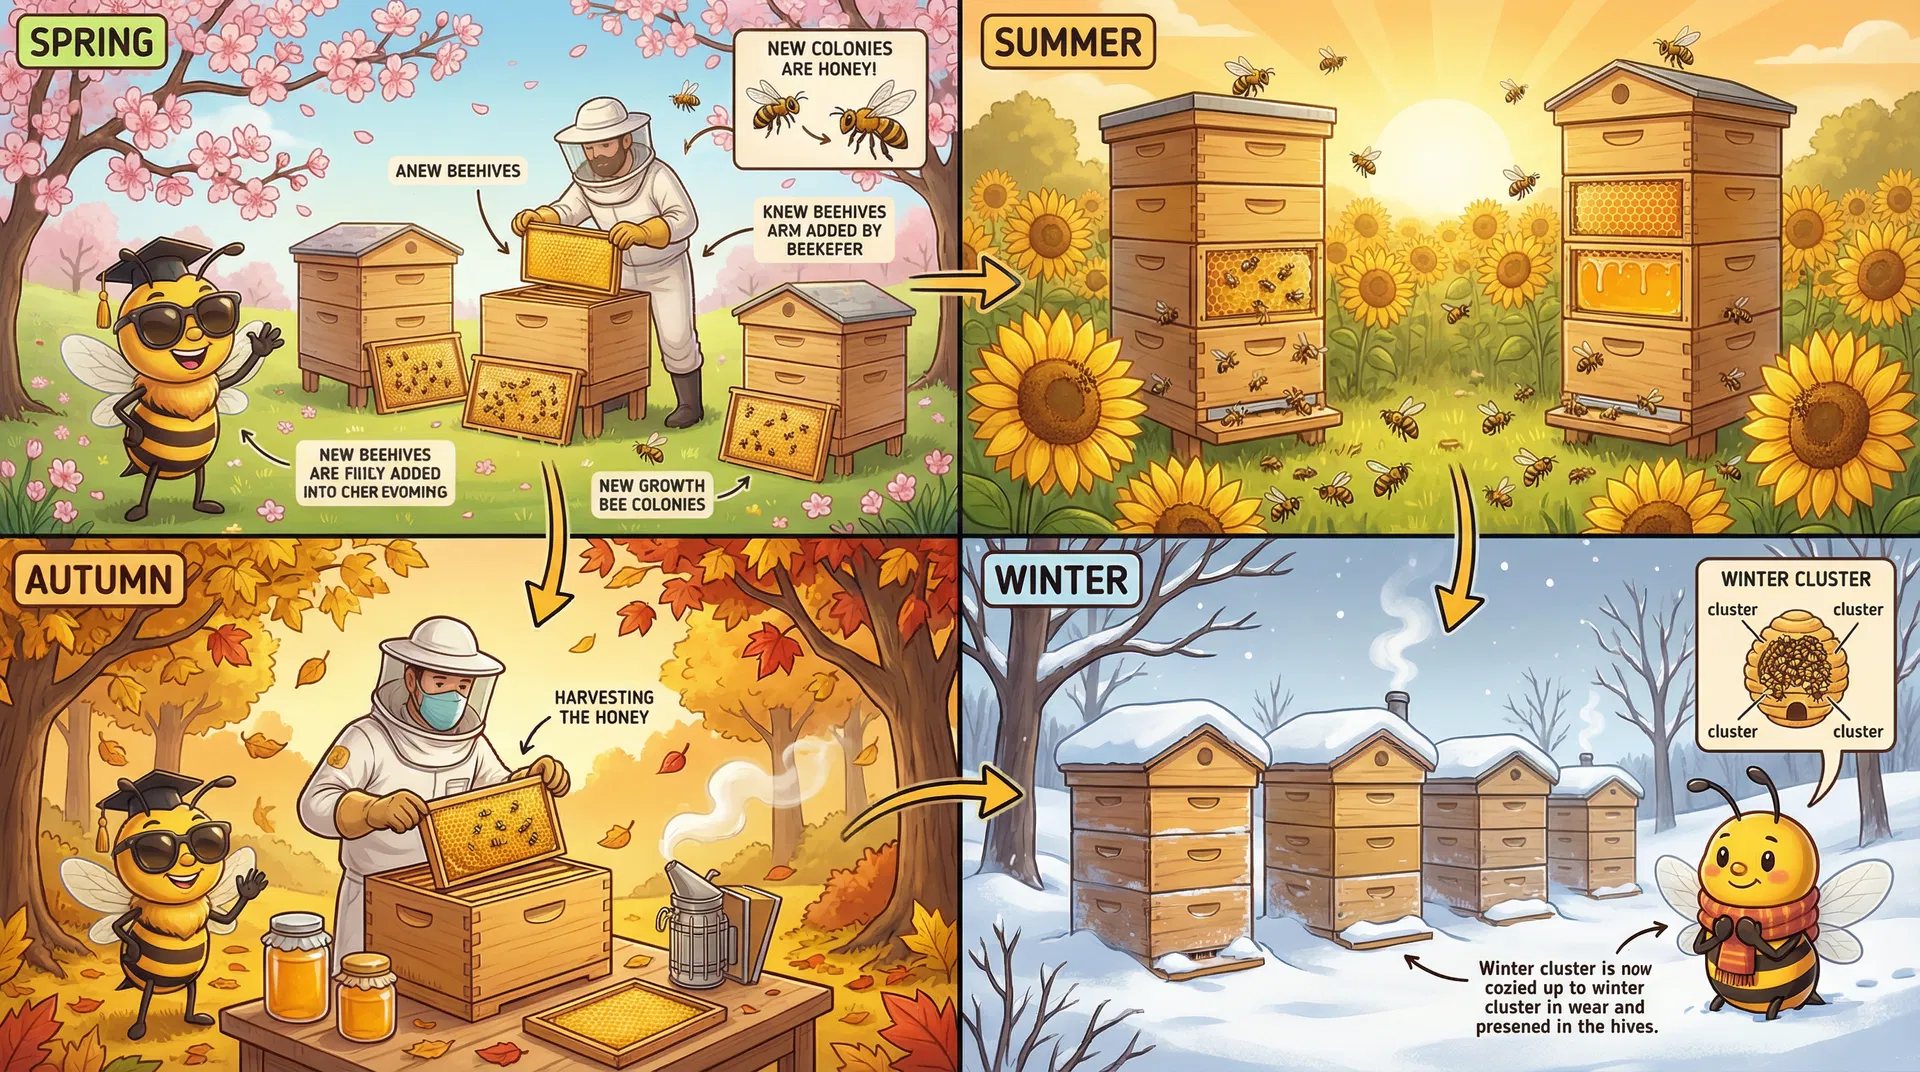
Seasonal Inspection Adjustments
A successful beekeeper is one who is in tune with the rhythms of nature. The life of a honey bee colony is inextricably linked to the changing seasons, and your beekeeping practices must reflect this.
Spring Buildup
Spring is a time of explosive growth for the colony. Your main goals are to ensure the queen is laying well, the colony has enough space to expand, and to prevent swarming.
- Frequency: Inspect every 7-10 days.
- What to Look For: A rapidly expanding brood nest, signs of swarm preparations (queen cells), and adequate food stores.
Summer Management
Summer is the peak of the honey flow. Your focus will be on giving the bees plenty of space to store honey and ensuring they have enough ventilation.
- Frequency: Inspect every 10-14 days.
- What to Look For: Honey production, queen health, and signs of pests and diseases.
Fall Preparation
In the fall, the colony is preparing for winter. Your job is to make sure they have a strong population, a healthy queen, and enough honey to survive.
- Frequency: Inspect every 2-3 weeks.
- What to Look For: Ample honey stores, a healthy queen still laying, and low mite levels.
Winter Checks
In most climates, you won't be doing full inspections in the winter. Opening the hive can chill the brood and stress the colony.
- Frequency: Quick checks on mild days (above 45°F or 7°C).
- What to Look For: Heft the hive to check its weight (food stores), and look at the entrance for signs of activity.

Record Keeping: What to Write Down After Every Inspection
Good record keeping is the hallmark of a thoughtful and effective beekeeper. Your notes will become an invaluable resource for tracking the health and progress of your hives.
Here's what you should record after every inspection:
- Date and Weather: The date of the inspection and the weather conditions.
- Hive Temperament: Were the bees calm, defensive, or aggressive?
- Queen Status: Did you see the queen? Did you see eggs?
- Brood Pattern: Describe the brood pattern. Was it solid or spotty?
- Food Stores: Estimate the amount of honey and pollen.
- Population: How many frames were covered in bees?
- Pests and Diseases: Note any signs of pests or diseases.
- Actions Taken: Did you add a super, treat for mites, or feed the bees?
- To-Do List: What do you need to do before your next inspection?
How Often Should You Inspect?
This is one of the most common questions from new beekeepers, and the answer is: it depends. The frequency of your inspections will vary depending on the season, the strength of your colony, and what you're seeing in the hive.
| Season | Frequency | Rationale |
|---|---|---|
| Spring | Every 7-10 days | To monitor rapid buildup and prevent swarming. |
| Summer | Every 10-14 days | To ensure adequate space for honey and check for pests. |
| Fall | Every 2-3 weeks | To assess winter stores and ensure the hive is strong. |
| Winter | Minimal (quick checks only) | To avoid chilling the brood and stressing the colony. |
As a beginner, it's a good idea to inspect your hives more frequently (about once a week) during your first season. This will help you learn to read the bees and become more comfortable with the inspection process.
Common Beginner Mistakes During Inspections
The path to becoming a skilled beekeeper is paved with mistakes. Every experienced apiarist has a collection of stories about lessons learned through trial and error. Here are some common blunders that can be easily avoided:
- Inspecting too often or not enough: Over-inspection can be highly stressful for the colony, disrupting their work and potentially chilling the brood. Under-inspection can lead to missed opportunities to address problems before they become severe.
- Not using enough smoke, or using hot smoke: Many beginners are either too timid with the smoke, or they are too aggressive, puffing hot smoke and embers into the hive. The goal is cool, white, voluminous smoke.
- Crushing bees and rolling the queen: Move slowly and deliberately when removing and replacing frames. Be mindful of where the bees are and take care not to crush them between the frames or against the hive body.
- Not taking good notes: After inspecting a few hives, the details will quickly become a blur. Your notes are your hive's medical chart, your historical record, and your guide for future management decisions.
- Panicking when stung: Calmly scrape the stinger out with your hive tool or a fingernail, smoke the area to mask the alarm pheromone, and continue with your inspection.
- Not having a plan: Before you even approach the hive, you should have a clear idea of what you are looking for and what you hope to accomplish during the inspection.
Conclusion: Building Confidence Through Practice
You have now equipped yourself with a comprehensive framework for conducting thorough and effective hive inspections. This knowledge is the foundation upon which you will build your beekeeping expertise. But remember, reading about beekeeping and doing beekeeping are two different things. True understanding comes from hands-on experience, from the sticky feel of propolis on your gloves, the mesmerizing sight of a perfect brood pattern, and the gentle hum of a contented hive. Beekeeping is a continuous journey of learning and discovery, not a destination with a finite end.
As a beekeeper, you have taken on the profound responsibility of stewardship. Your bees are depending on you to be their vigilant protector, their attentive provider, and their knowledgeable advocate. By diligently applying the principles and practices outlined in this guide, you are not just setting yourself up for a successful honey harvest; you are cultivating a relationship of trust and respect with your bees.
Ready to take your beekeeping journey to the next level? Join our vibrant community of beekeepers at Join Modern Beekeeping on Skool to share your experiences, ask questions, and learn from fellow bee enthusiasts. We can't wait to see you there!
And for a complete foundation in beekeeping, don't forget to read our pillar article, The Complete Beginner's Guide to Beekeeping [blocked].
Printable Hive Inspection Checklist
Date: __________ Hive ID: __________ Weather: ______________
Pre-Inspection
- Smoker lit and producing cool, white smoke
- Hive tool, bee brush, and frame grip ready
- Protective gear on and fully sealed
- Notebook and pen ready
7-Point Hive Health Check
1. Queen Status
- Queen seen? (Mark if yes)
- Eggs seen? (Tiny, rice-shaped, one per cell)
- Young larvae seen?
- Capped brood seen?
2. Brood Pattern
- Solid and compact?
- Spotty or scattered?
- Any signs of disease (sunken/perforated cappings)?
3. Food Stores
- Frames of capped honey: ______
- Frames of pollen (bee bread): ______
- Do they need feeding? (Y/N)
4. Population
- Number of frames covered in bees: ______
- Is the population strong for the season?
- Any signs of population decline?__
5. Pests & Diseases
- Varroa mites seen on bees?
- Mite count performed? (Result: ______)
- Signs of wax moths, hive beetles?
- Any other signs of disease?__
6. Space Needs
- Are bees using 7-8 frames in the top box?
- Do they need another super? (Y/N)
- Any signs of crowding/bearding?
7. Temperament
- Calm
- Nervous
- Defensive / Aggressive
Actions Taken & Notes
Next Steps
Brood Pattern Assessment Table
| Characteristic | Healthy Brood Pattern | Unhealthy Brood Pattern |
|---|---|---|
| Layout | Solid, compact, contiguous block | Scattered, spotty, "shotgun" appearance |
| Stages | All stages (eggs, larvae, pupae) present in a logical progression | Missing stages, inconsistent age distribution |
| Cappings | Uniform, slightly raised, light-tan color | Sunken, dark, greasy, or perforated cappings |
| Larvae | Plump, pearly white, C-shaped in their cells | Discolored (yellow, brown), twisted, or melted larvae |
| Eggs | Single egg centered in the bottom of each cell | Multiple eggs per cell, or eggs on the sides of cells |
Seasonal Inspection Frequency Table
| Season | Recommended Frequency | Primary Goals & Focus |
|---|---|---|
| Spring | Every 7-10 days | Monitor colony buildup, check for swarm cells, ensure adequate space. |
| Summer | Every 10-14 days | Add honey supers as needed, check queen health, monitor for pests. |
| Fall | Every 2-3 weeks | Assess winter stores, ensure a strong population, perform final mite treatments. |
| Winter | Quick checks only on warm days (no full inspections) | Heft hive to check weight (food stores), ensure top entrance is clear. |
This guide is maintained by the Modern Beekeeping community. Last updated: February 2026. Join our free community on Skool for the latest updates, video tutorials, and expert support: skool.com/modern-beekeeping